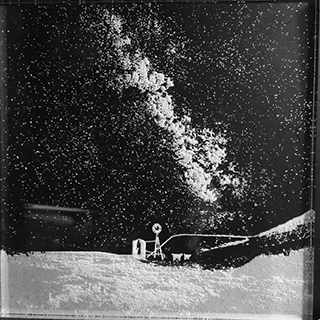
Laser Cut the Milky Way
You'll need photoshop for this. Yay photoshopping!
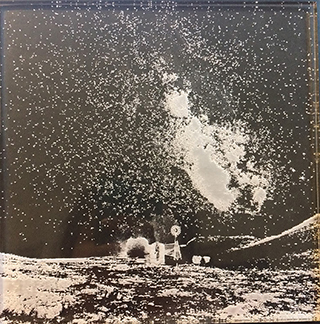
The Process #TrustTheProcess
- Find a photo. Open it in Photoshop.
- Convert to black and white.
- Invert the image.
- Adjust using threshold.
- Invert the image horizontally.
- Laser Cutting
- For black: 100% power, 75% speed, 1000 PPI. I tried 80% and the stars looked a little blurred.
- Red: 2% for speed, 100% power.
If you don't have a photo, borrow an awesome photo from somebody without their permission. Oops. Thanks, Kathy. Follow her on Instagram!
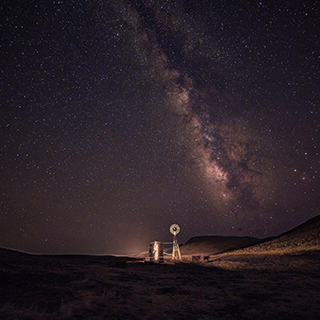
I rec you pick something with an easy to ID background and has decently high resolution.
We want to etch the stars only, so make the lit up stars black by inverting it. Select the image and hit cmd + I. Your image might look something like this:
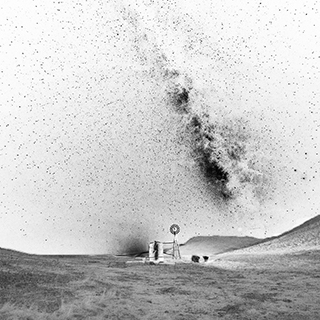
The laser cutter will cut shades of black. Because we're cutting into acrylic and want to take advantage of the natural clear and cleanness of the acrylic. We're going to use a threshold to get rid of shades of black because the laser cutter will engrave it (it'll look like you scratched it), and we'll be left with only black or only white.
Go to the top panel, Image --> Adjustments --> Threshold. You can either adjust the entire picture all at once or portions of it (with the quick selection tool, hit w in PS or with the pen tool, hit p) to get more control of the detail. Note that solid black parts will just be solid white lines, so you'll probably want to try and minimize that in the Milky Way.
Because we'll be laser cutting into plexiglass, if you want the image to be smooth, you'll need to laser cut an inverted image.
Image -> Image Rotation -> Flip Canvas Horizontal.
Your final PS result might look something like this:
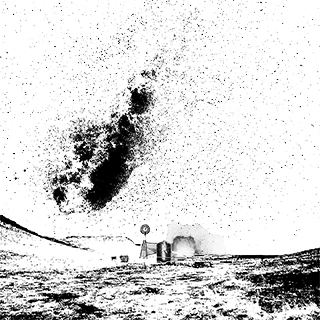
Open Illustrator, File --> place the image. Make sure to embed it. Do the usual: draw a red rectangle of 0.001 inch thickness around it, focus the laser cutter, etc. I'm not doing laser cutter training here.
After you send it to print, adjust the manual settings.
If I were to redo it, I would try and avoid chunks of solid black when photoshopping–this involves a lot of playing around in photoshop. I would also test out the file and settings on a scaled down version/smaller piece of acrylic and pause the cutter for the solid black parts and reduce the power on black to try and minimize any solid white lines that it would make, and then adjust it back once the solid chunks were done (eg before the windmill so that it would be cut in detail). Test stuff on a small scale to make sure you love the result, don't waste plexiglass like I did T_T. If it turns out meh, it makes for a good coaster...
DONE!
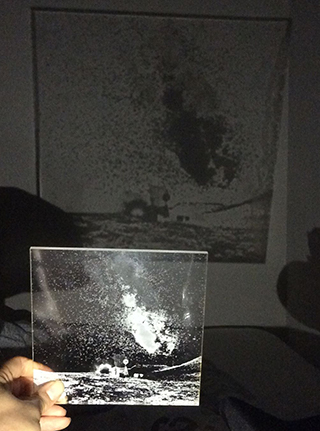
You can also do this with laser cut acrylic things! I have no idea what the functional purpose is, but ooo back to middle school and projectors!
Update
I remade it. Pic without the paper completely removed.
